Tools and Materials Needed
– Tools:
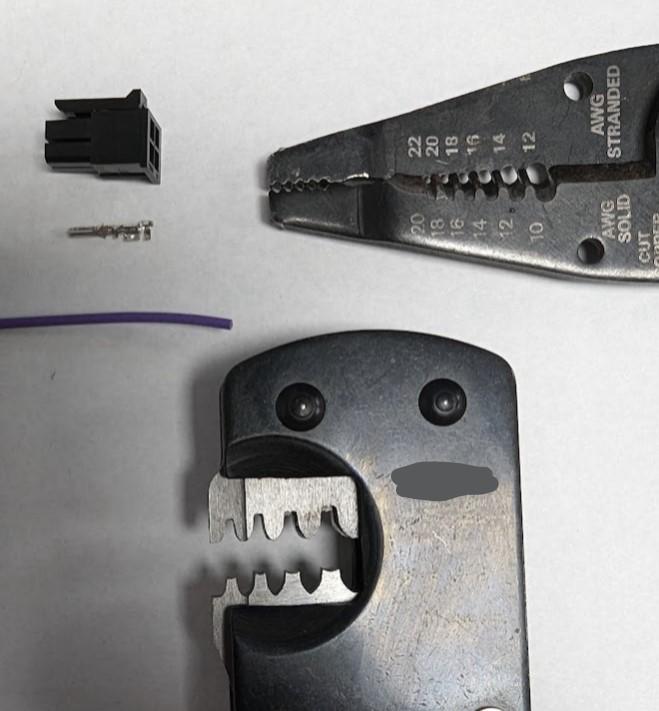
– Wire stripper
– Crimping tool
– Needle-nose pliers (optional)
– Scissors (optional)
– Materials:
– Electrical wire (multi-stranded or solid)
– Crimp connectors (pins)
– Heat shrink tubing or electrical tape (for insulation, optional)
Step-by-Step Guide
Part 1: Stripping the Wire
1. Choose the Right Wire Stripper:
– Select a wire stripper that suits the gauge of the wire you’re working with. Most strippers have multiple slots for different wire sizes.
2. Measure the Length of Wire:
– Decide how much insulation you need to remove. Typically, 1/4 to 1/2 inch is sufficient.
3. Position the Wire:
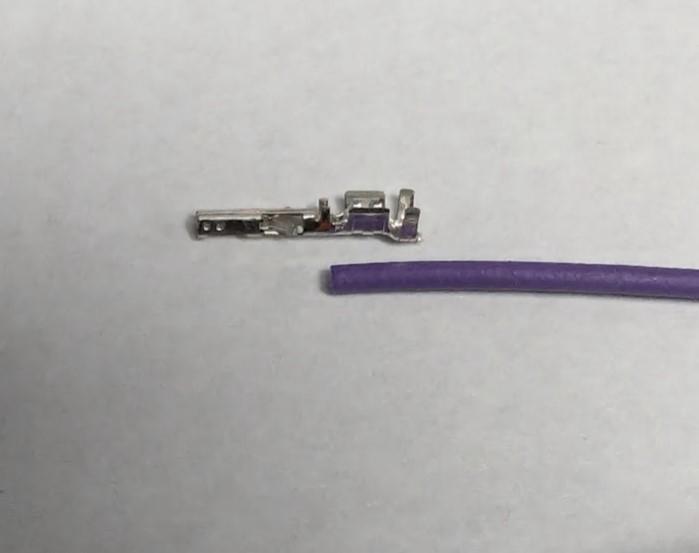
– Place the wire in the appropriate slot of the wire stripper at the point where you want to strip the insulation.
4. Strip the Wire:
– Squeeze the handles of the wire stripper firmly to cut through the insulation without damaging the wire strands.
– Pull the stripper towards the end of the wire to remove the insulation. Ensure that you do not pull too hard, which could break the wire.
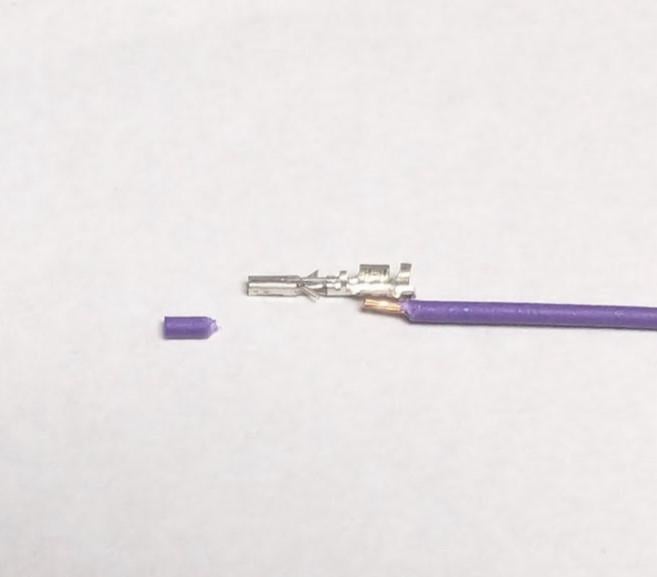
5. Check the Stripped Wire:
– Inspect the exposed wire to ensure there are no nicks or cuts. There should be clean, undamaged strands.
Part 2: Crimping the Wire
1. Select the Correct Crimp Connector:
– Choose a crimp connector that matches the wire gauge. Ensure it’s compatible with the crimping tool.
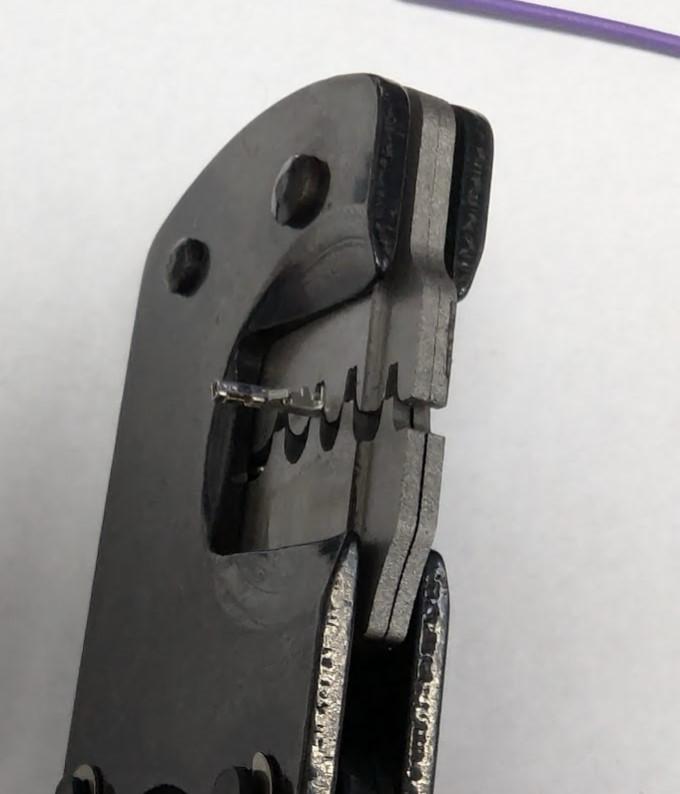
2. Insert the Wire into the Connector:
– Slide the stripped end of the wire into the crimp connector until it is fully inserted.
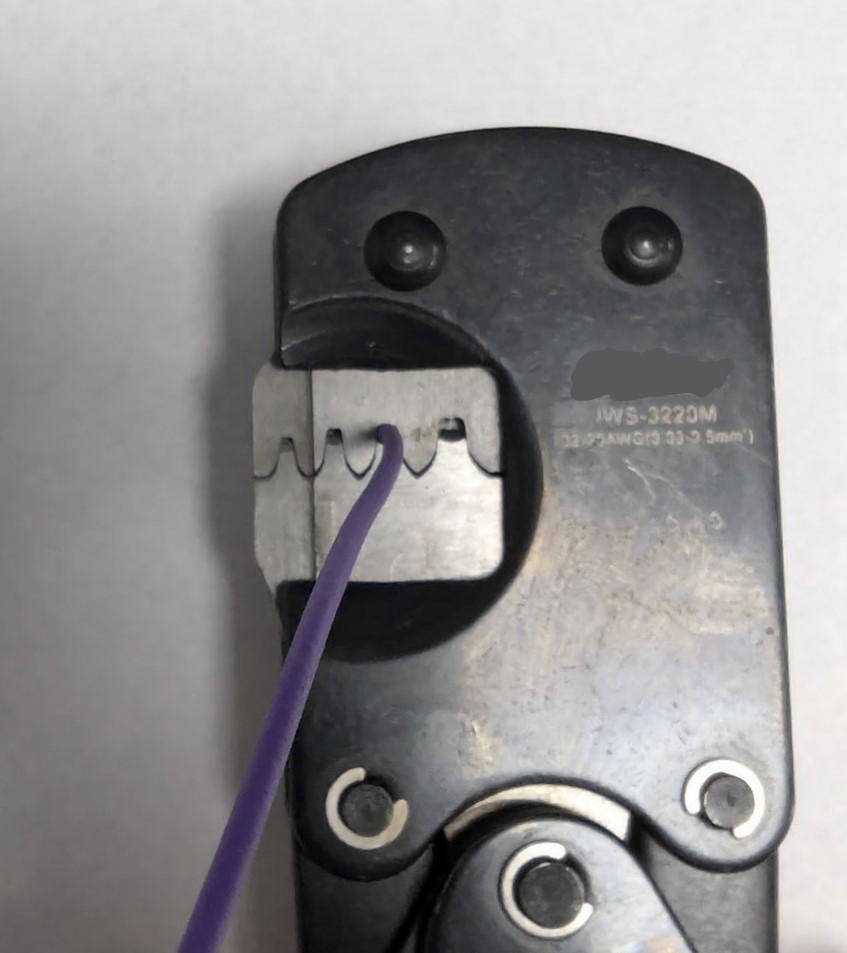
3. Position the Crimping Tool:
– Place the crimp connector into the designated slot of the crimping tool. This varies by tool, so refer to the tool’s instructions if necessary.
4. Crimp the Connector:
– Firmly squeeze the handles of the crimping tool to secure the connector to the wire. Ensure it is tightly crimped without damaging the wire.
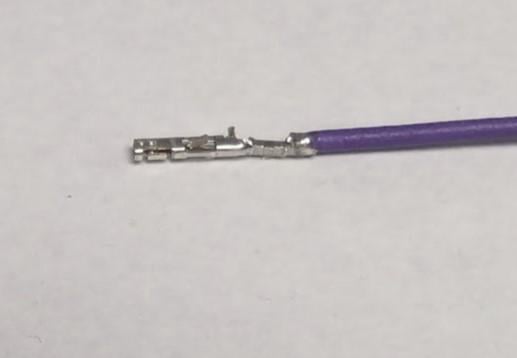
5. Check the Connection:
– Gently tug on the wire to ensure the crimp is secure and the connector does not pull off.
Part 3: Adding Pins to a Wire
1. Gather the Pins:
– Obtain the appropriate pins that fit into the connectors you plan to use.
2. Follow Steps 1 to 4 from Part 2:
– Repeat the process of stripping the wire and inserting it into the crimp connector.
3. Insert the Pin:
– If the pin is a separate component, carefully insert it into the crimp connector after crimping the wire. Ensure that it fits snugly.
4. Secure the Pin:
– If necessary, use the crimping tool to further secure the pin within the connector, ensuring a tight fit.
5. Test the Connection:
– Once the pin is added, test the connection by pulling gently to confirm it is secure.
Tips for Success
– Safety First: Always wear safety glasses when working with tools.
– Practice: If you’re new to crimping, practice on a scrap piece of wire before working on your project.
– Use Quality Materials: Invest in good quality wire strippers, crimping tools, and connectors for better results.
– Heat Shrink Tubing: If using heat shrink tubing for insulation, slide it onto the wire before crimping. After crimping, heat it to create a tight seal.
Stripping and crimping wires, along with adding pins, is a fundamental skill in electrical work. With practice and the right tools, you can create secure connections for various projects. Always ensure your work is neat and organized for safety and reliability.

