Background

Since launching YourSpec late last year, we have had a great time being a part of so many of your builds by processing wire for your projects. We appreciate those of you that have taken the time to post your projects in our Facebook Group and those that have shared your wire with others online.
We are excited to have made some progress on our own projects and have enough time to start sharing them with you now as well! The first project we are going to share with you is my personal project, a 1984 Porsche 911 Carrera Targa.
This car made its way to me in May 2021. I bought it sight unseen from someone in a Facebook group – a first for me. I was obviously nervous wiring a substantial sum of money to a complete stranger, but was somehow able to do enough thorough investigation that I was confident I would not be outright scammed. When the car arrived, I immediately fell in love with the mechanical driving feel that the air-cooled 911 is renowned for.
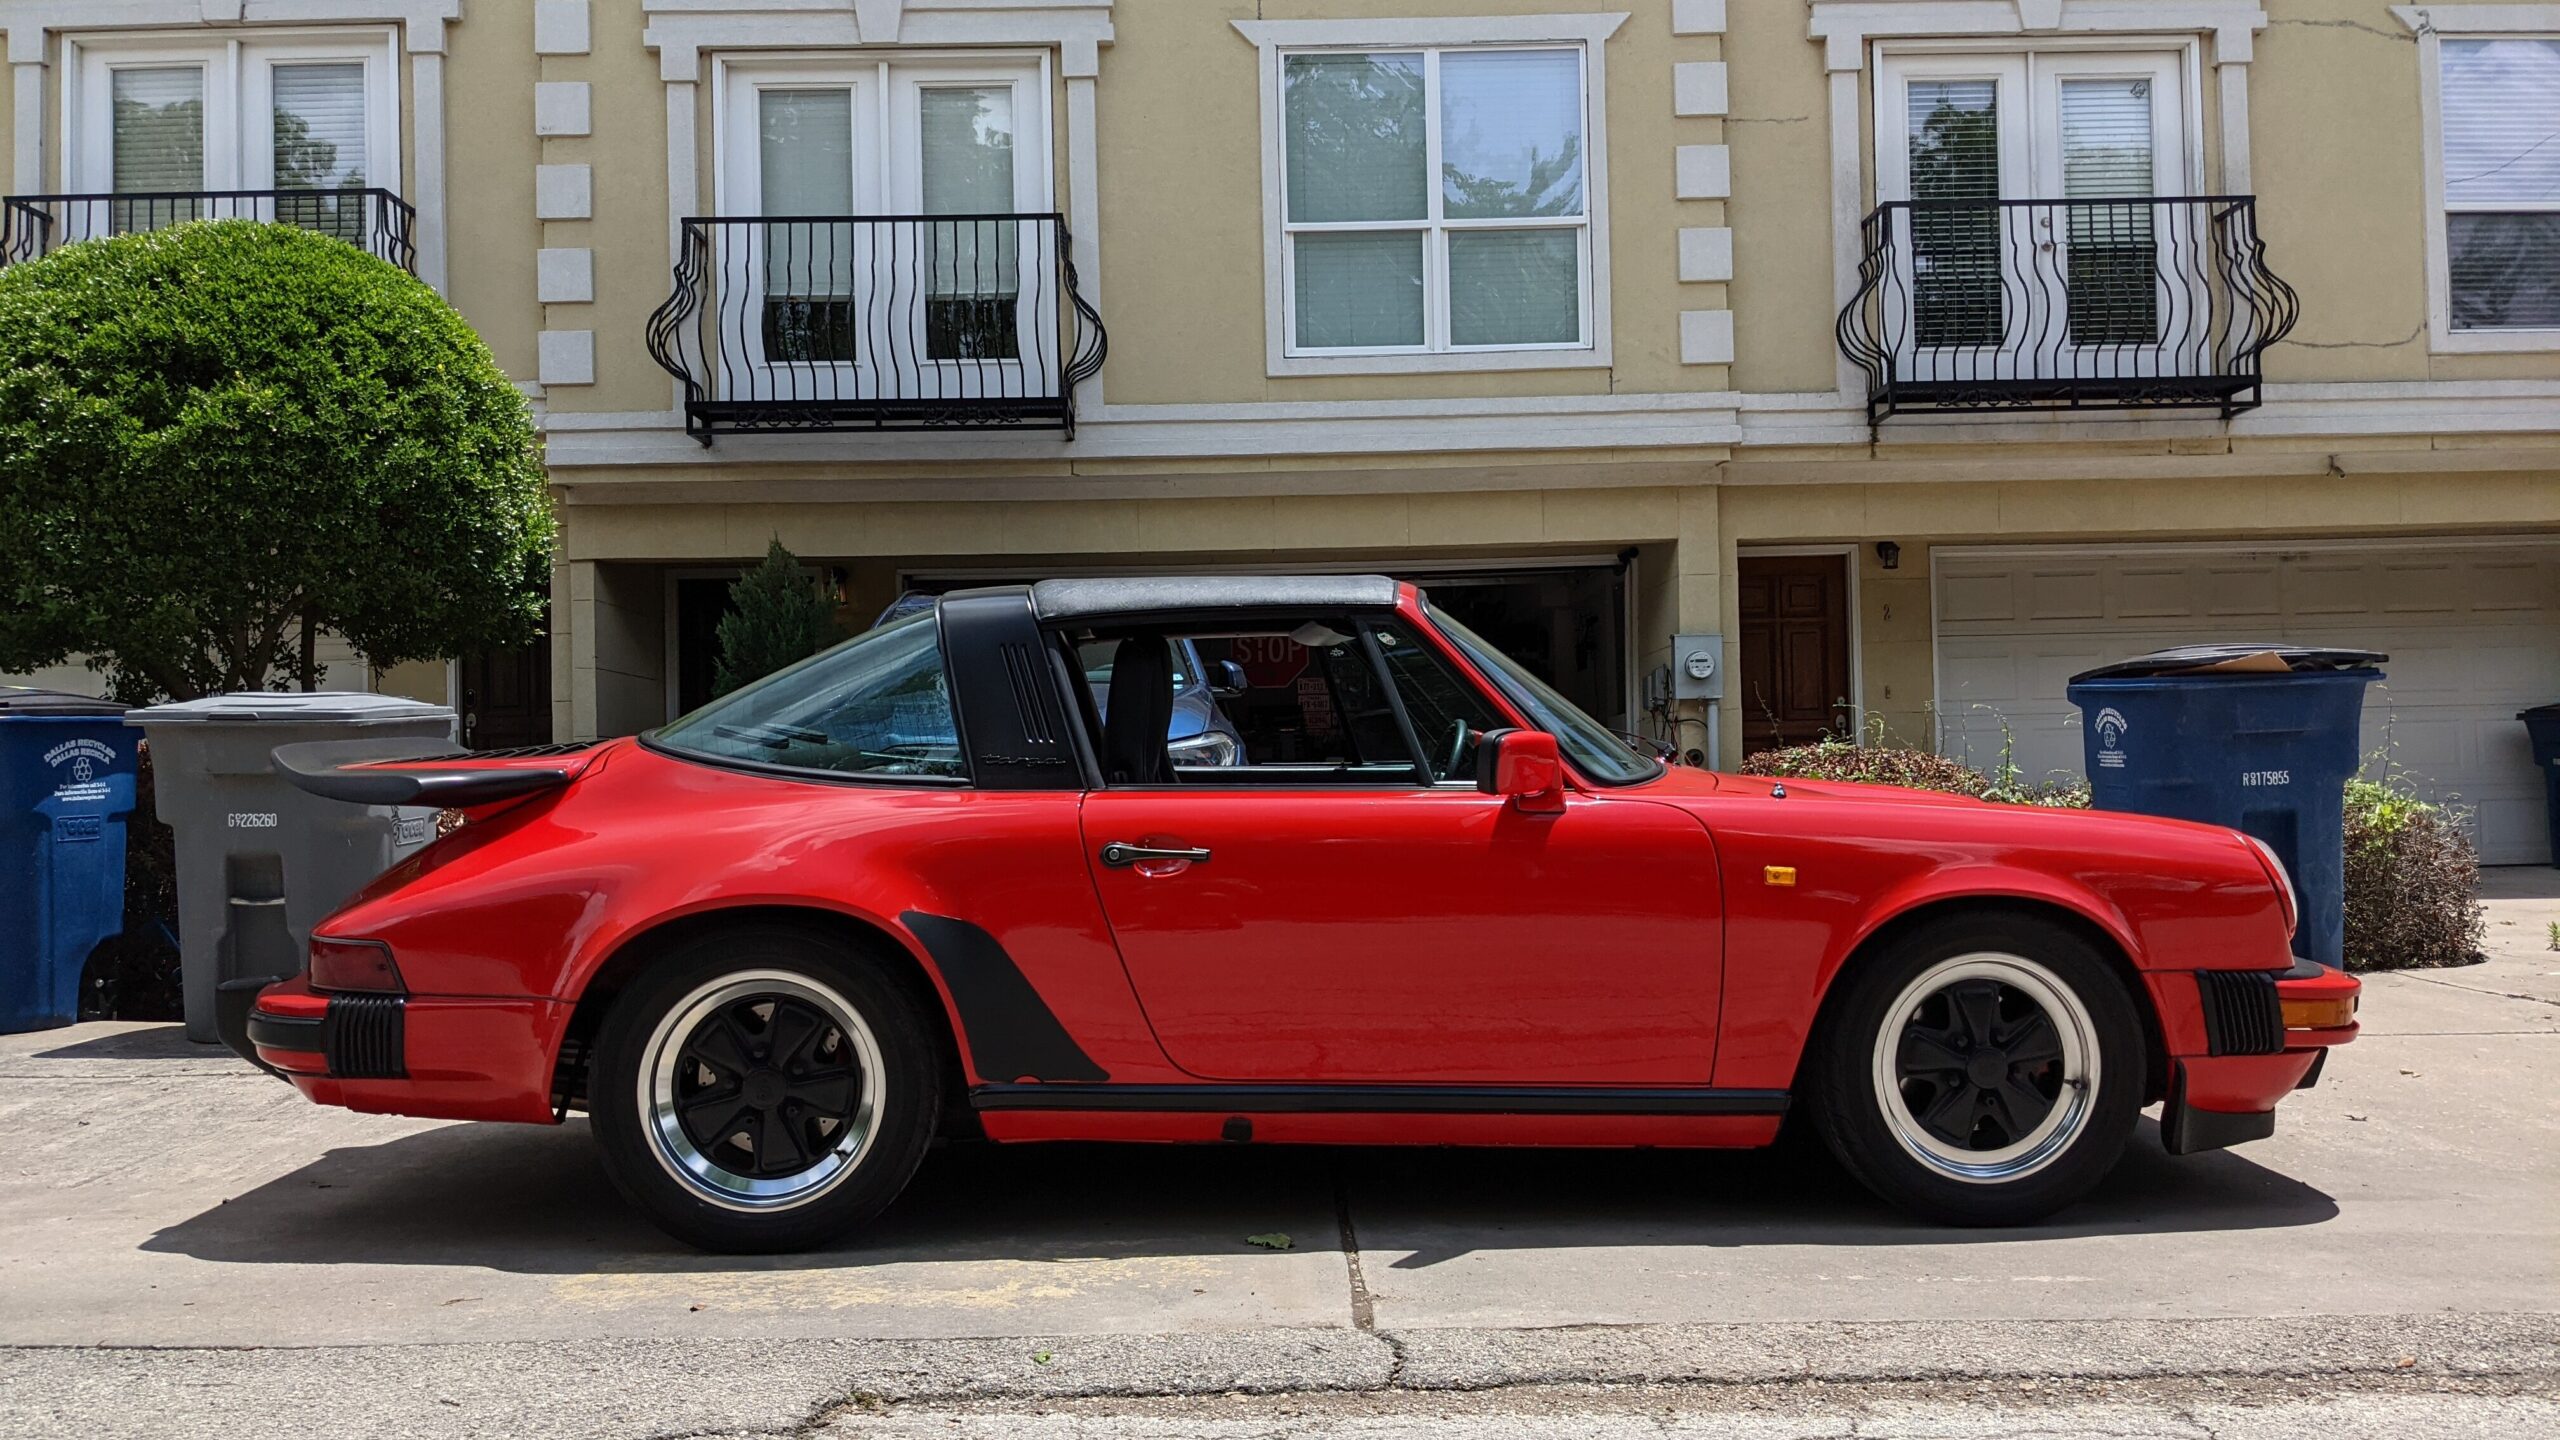
This car is a 1984 Carrera of European spec commonly referred to as a RoW model in the Porsche world (RoW meaning “rest of world”). Being a 1984 car, it came from factory with a fuel injected 3.2L engine and the Motronic 1.3 engine management system running the show. The RoW model also brought a higher compression engine (10.3:1) than its US counterpart which bumped the factory power output to 230 horsepower.
I am no stranger to Motronic 1.3. Before the ownership of this 911 came many E30s in various forms of modification level. I have played around with tuning Motronic 1.3 in the past with an Ostrich chip emulator, TunerPro, and various XDF files floating around the web. However, the Motronic 1.3 in the 3.2L Porsche configuration seems to be a bit less kitted out than the one used by BMW with the late M20. There are less sensor inputs, no narrowband O2 (in the RoW model at least), and some of the implementations of common sensors (throttle switch) are a bit more rudimentary.
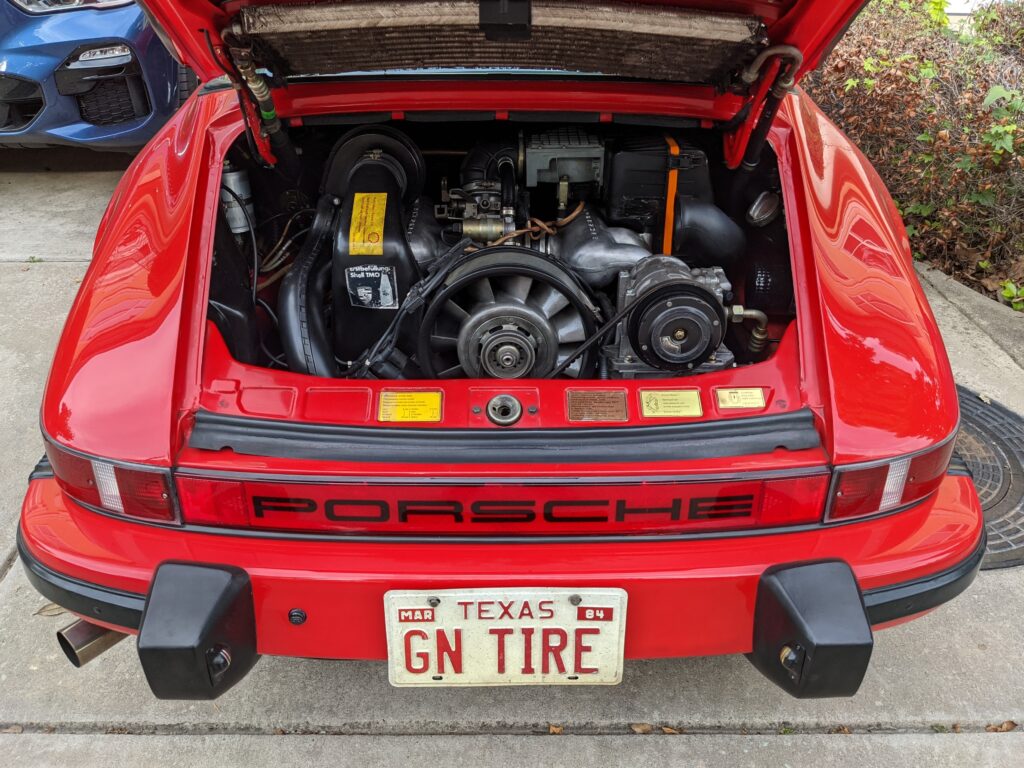
Though I loved the mechanical feel of how the 911 handled and shifted, I was never especially fond of the drivability of the stock engine management. One area especially bothered me, the area right around the on/off throttle point. It really felt like the accelerator pedal was an on/off switch and just barely moving the throttle past “closed” would result in a jerk forward and far too much acceleration. Moving forward slowly in traffic meant jerking forward and back as you got on the throttle and let off to hit fuel cut and slow down. I spent the time on obvious things like checking the throttle switch adjustments and ensure the throttle body moved smoothly, but the dynamics did not improve. In the end, I ended up getting a “performance chip” from the big name 911 3.2 chip tuner hoping that would help the situation. It improved drivability across the board but this behavior was largely unchanged.
At that point I decided to give up – I loved the car enough I could live with that behavior. I knew that down the road I would not be able to help myself from further modifications and I could address it then. Two of my E30s in the past had been turbocharged and running standalone engine management systems, and I missed the fun of constant small adjustments to dial things in exactly the way I wanted. It was clear this would be the eventual future for this 911 as well, the question only was when.
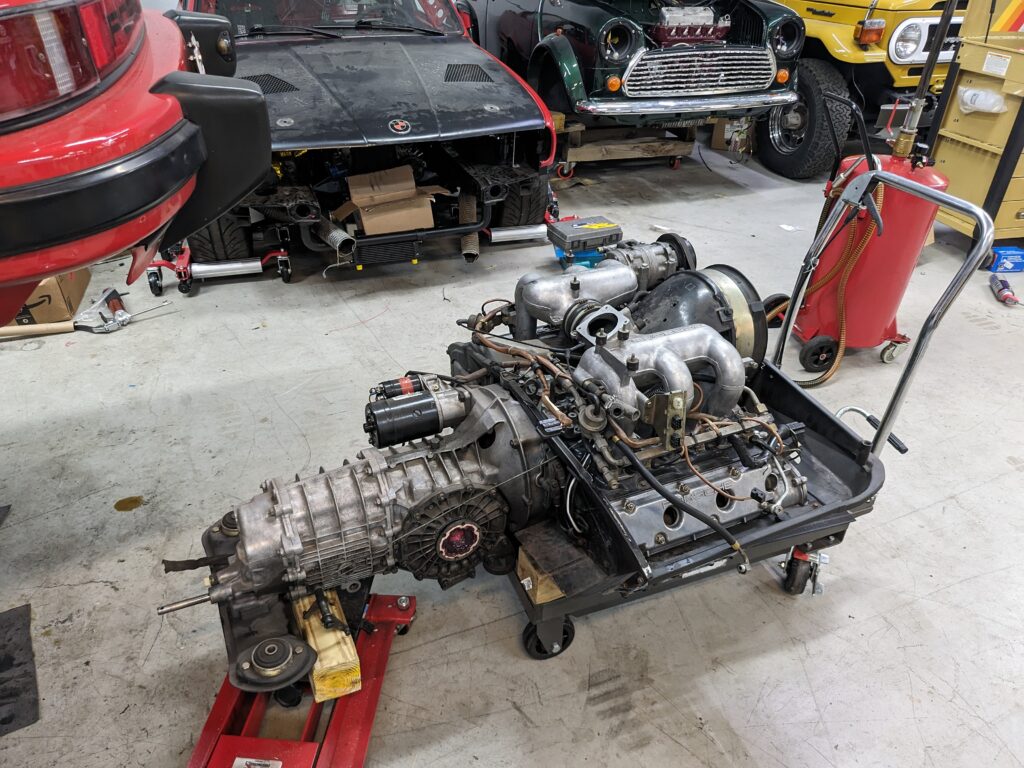
January 2024 came around and I finally had the excuse to start this project. As with all Porsche 915 gearboxes, mine made it apparent it had come time to be rebuilt. Second gear had issues engaging (not synchro related), and there was a general whine getting louder and louder over time in any gear (bearings). I decided to drop the engine and transmission to send the transmission out for a rebuild. While the engine was out I would finally install a standalone engine management system. This is the project these articles will focus on – the installation of a standalone engine management system and the planning, wiring, and supporting work that took place. Between 2021 and 2024 there have been plenty of other modifications to the car which I will not be covering unless specifically relevant to this project.
Planning
My eventual goal is to turbocharge the 3.2 engine in this chassis. My first turbo E30 was a convertible and I still miss the sound of an open wastegate dump with the top down. I would love to experience that again with the targa. But, with the transmission being rebuilt, that was not in the realm of possibility financially. To keep things easy, I decided to target getting the car up and running on a standalone engine management system including any other modifications to make that process easier. I would also add as many additional sensors and control systems as I reasonably could.
A lot of the planning for this project was simplified because we happened to have parts on-hand from past projects and customer builds. We will do a write up on how we choose ECUs and start planning our projects in more detail later – but for my build a good deal of that component selection boils down to “what did we have available” or “what can we make.”
I will start with the most important component – the ECU. For this project, I decided to use the ECUMaster EMU Pro 16 ECU.
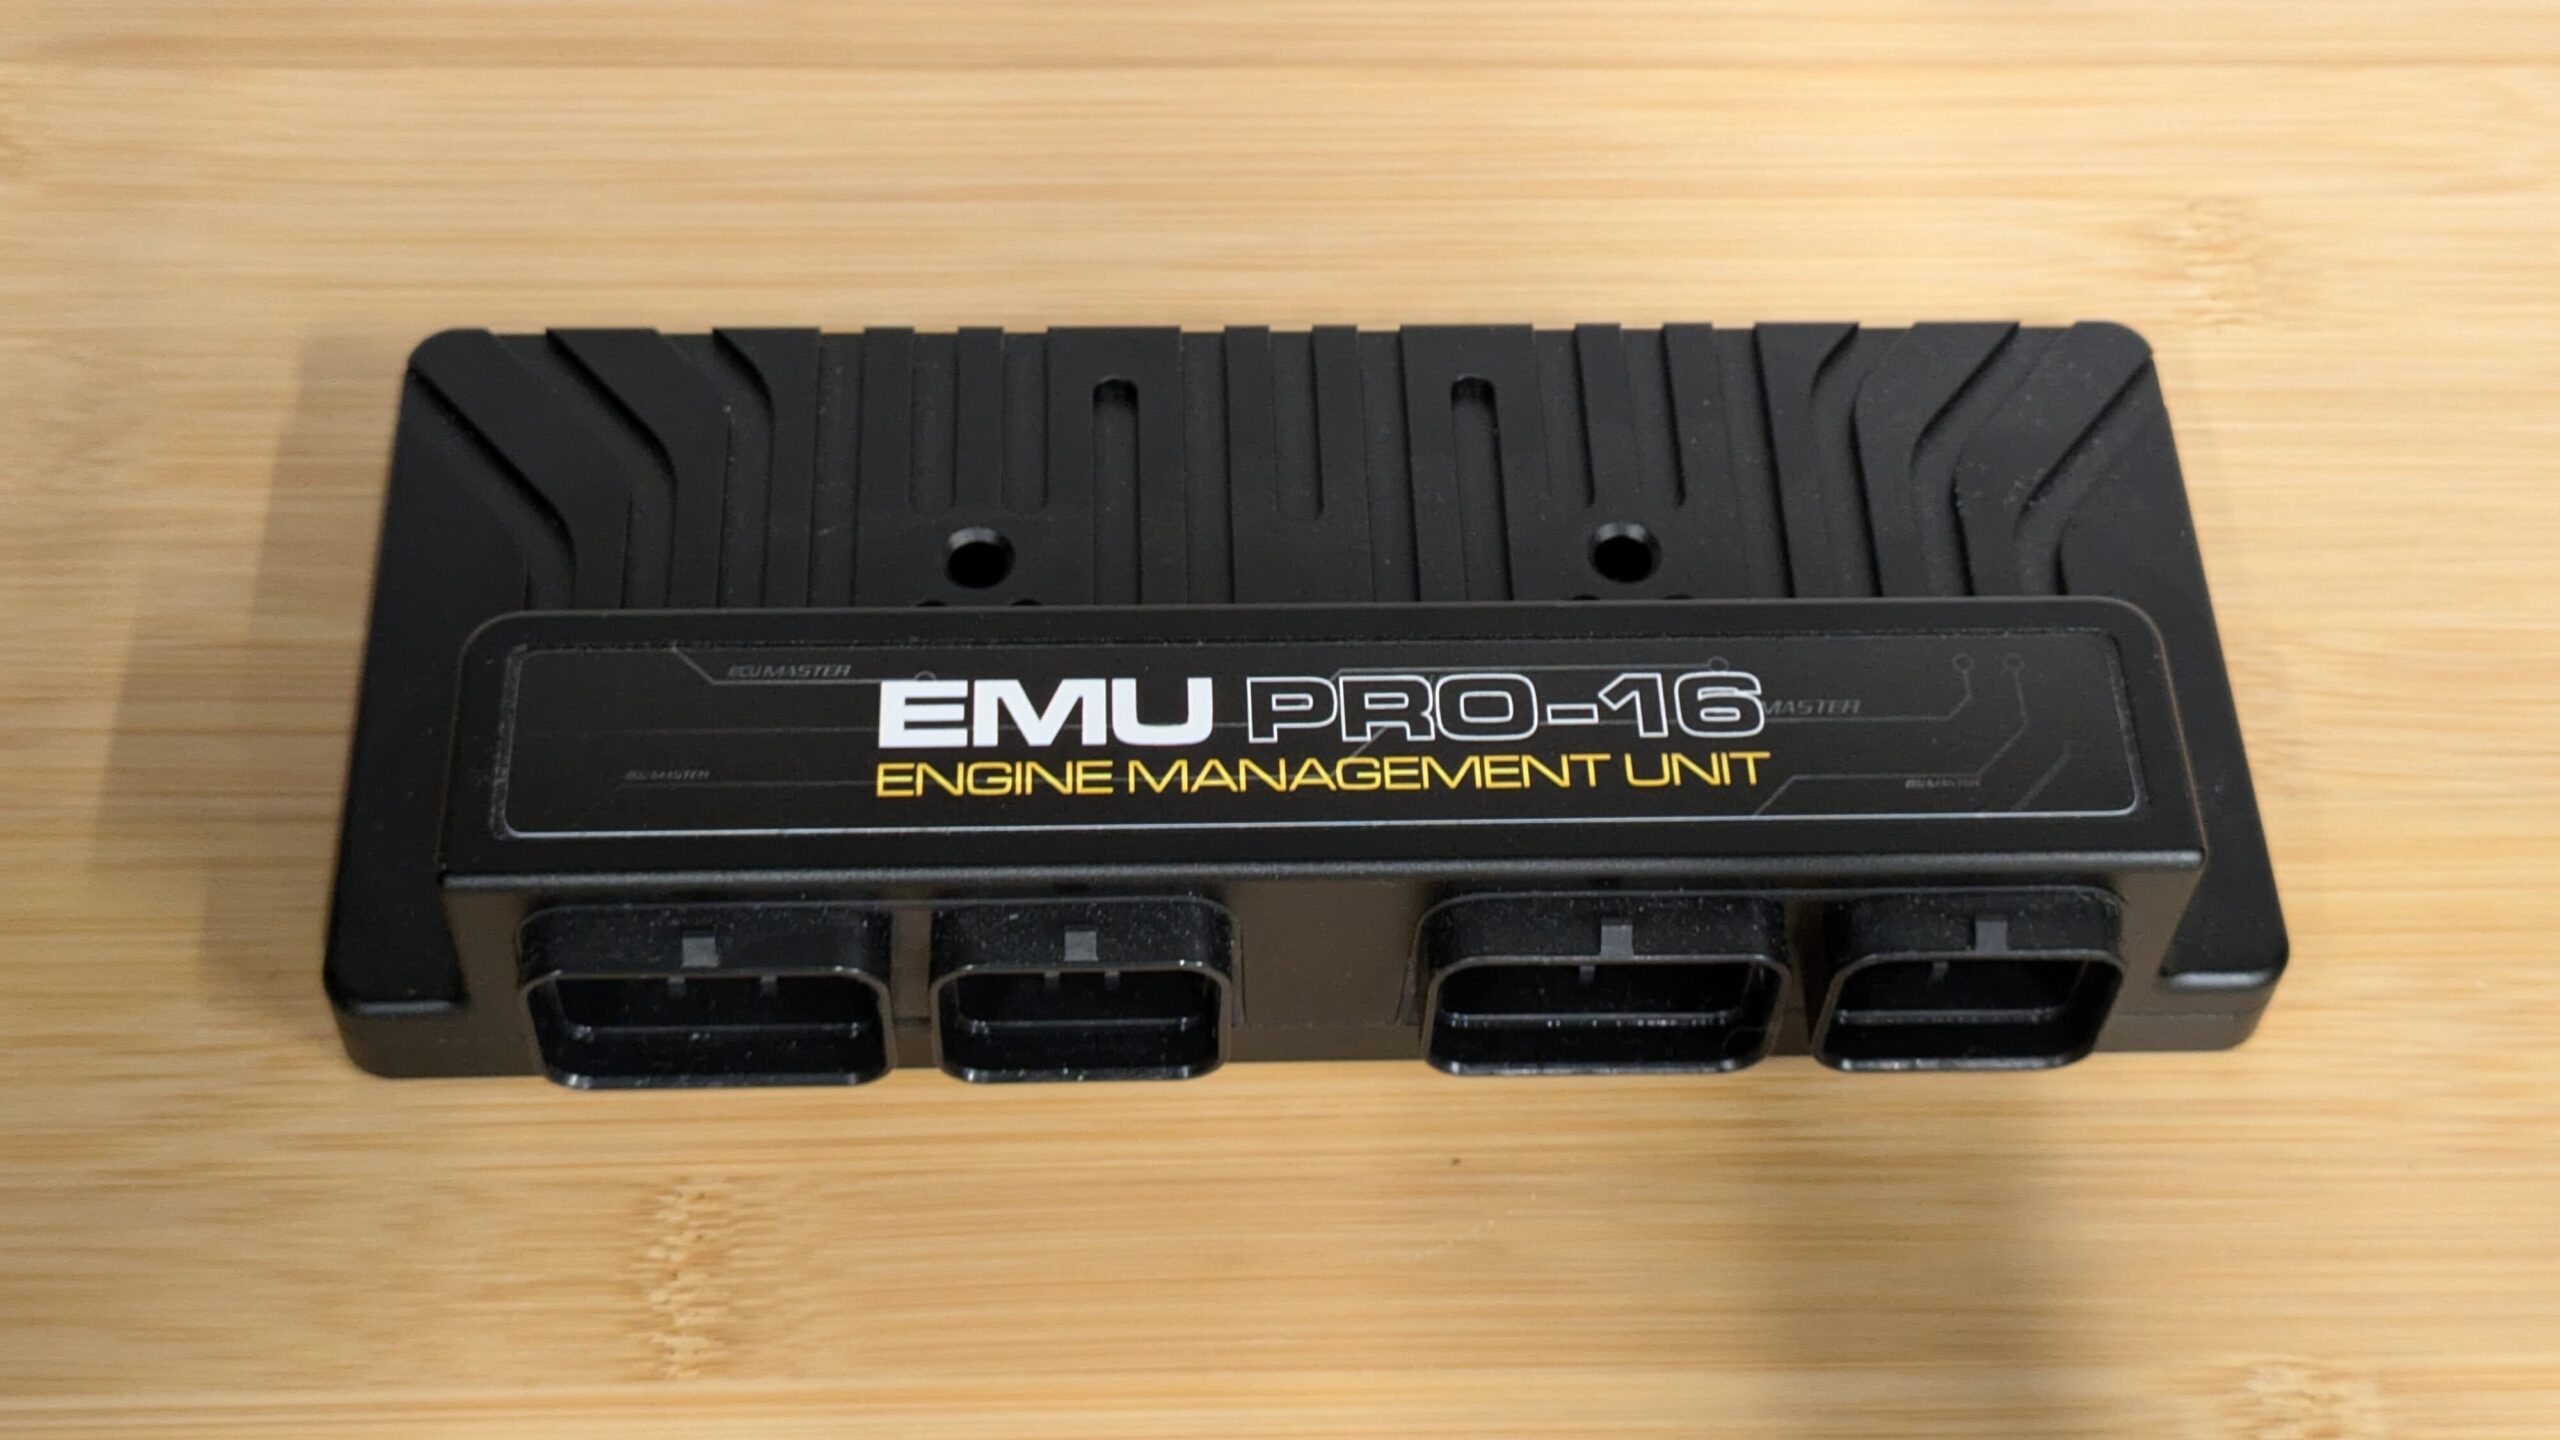
The Pro 16 is a beast of a standalone ECU from ECUMaster. We bought this ECU shortly after it was released and had been saving it for a worthy project. We had experience with ECUMaster before in a past build (Michael’s E46 S54 touring track build) and really liked everything about the experience. Plus, ECUMaster USA is located nearby our Dallas, Texas location.
The Pro 16 offers the following:
- 2 wideband O2 sensor controllers
- 2 DBW outputs
- 4 VVT channels
- 2 knock sensors
- 2 CAN busses
- 8 EGT inputs
- 12 ignition / 16 injector outputs
- Total of 46 outputs and 30 inputs
Obviously, for a single cam 6 cylinder air-cooled engine this is extremely overkill. However, it would allow us to get to know the platform and implement plenty of sensors and data sources that we had previously not experienced before. The possibility of running full sequential twin spark in the future with the 12 ignition outputs is a nice bonus as well.
With the ECU selected, we next made a list of every sensor we wanted to read from and every system we wanted the ECU to control for this stage of the project (NA, stock engine). The final list ended up being:
- Two wideband O2 sensors (one per bank): I wanted to maximize drivability and give myself the ability to play with per-bank fueling in the future.
- Cam sync sensor: It would be a huge waste to not run standalone ignition/fueling, so naturally a cam sync sensor was needed.
- Fuel pressure sensor: The EMU Pro has fueling control strategies that can leverage rail pressure so I wanted to take advantage of that as well as play around with fail-safes and logging fuel pressure data.
- Crankcase pressure sensor: I have always wanted to log crankcase pressure data on my forced induction builds, so I wanted the sensor there and ready for the future. But I am also interested to see the possibilities of what can be done with this data with a stock NA engine as well.
- Cylinder head temperature: Water cooled engines normally use the coolant temperature sensor for engine temperature compensation calculations. The stock Motronic 1.3 system for this engine uses a cylinder head temperature sensor to measure engine temperature. My research showed that those who had tried to use oil temperature only had issues tuning warm starts due to there being a large mismatch between the engine and oil temperature. So I decided to keep the stock reference sensor for engine temperature and use the cylinder head sensor.
- Oil temperature: Even though I am using the cylinder head temperature sensor, I wanted to log oil temperature data. Oil temperature is very important to these engines for cooling and is the only temperature data normally shown to the driver to monitor overall engine state. I am interested to see how I can use this data to set up fail-safes, or, maybe even a hybrid compensation for temperature in fueling or other calculations down the road.
- Oil pressure: The Porsche 3.2 has a dry sump oiling system and many hoses, fittings, and cases that are notorious for leaking. They also are well known for burning oil. I wanted to make sure I would have a good reading on oil pressure data to add fail-safes for low oil pressure conditions to save my engine in case anything ever happens in the future.
- DBW: This one was a no-brainer for me. With the engine being in the back there is quite a long linkage system to get the accelerator pedal connected to the throttle body resulting in plenty of areas for slop to happen or something to go wrong. Early on in my ownership of the car, a hose clamp was oriented near a moving part of the throttle plate arm which resulted in my throttle becoming stuck wide open on an on-ramp. Besides all of that, I would love to play around with things like cruise control and even traction control for the future which both require DBW to function at their best.
- Knock control: I wanted to have knock sensors that I could collect plenty of NA data with for the future when it came time for forded induction.
- AC Compressor: My 911 was optioned with AC. There is a simple clutch control system, I wanted to take control of that for myself for various strategies.
- Tachometer: Being fuel injected, the ECU was responsible for sending a signal for the tach with the stock engine management. I wanted to keep my tach working so this was obvious.
- Fuel pump: I wanted the ECU to have control over whether the fuel pump was running or not
- Starter: The EMU Pro has engine start control strategies and can auto start the engine with the appropriate inputs (run the starter motor to start the engine without you holding the key in start position). I wanted to be able to one click start the engine with the key, so naturally the ECU would be controlling the starter solenoid. The ECU also requires some safety inputs, so I had to bring in a brake pedal and clutch pedal switch signal along from the chassis as well.
- Brake pedal pressed: See ‘Starter’
- Clutch pedal pressed: See ‘Starter’
- MAP / IAT: I wanted to speed density for fueling control, so I needed to collect MAP and IAT data to accomplish this.
- Baro MAP: Some of my best memories have been taking my 911 on trips to the Tail of the Dragon. The Tail is located in the Smokey Mountains and in some of our trips through there you can cross some very big elevation changes on one drive. This is my excuse to add a barometric MAP sensor to compensate for this data on the fly.
- Gearbox temperature: From a past modification I have a port for monitoring gearbox oil temperature available. Gearbox temperature can be an issue with the Porsche 915 especially when at higher power levels, tracking, or adding an LSD. I wanted to ensure I could log that data and make it available to me for monitoring.
- Gearbox pump: One of the past modifications I did added a provision for gearbox cooler lines on the 915 housing. I do not plan on adding an active trans cooler at this stage, but, I wanted to pre-wire power lines for a trans cooler pump that could be controlled through the ECU.
- CEL: One of the past modifications I did was installing 964 gauges in the cabin. The 964 gauges have a check engine light, and the EMU Pro supports an error indicator signal. I wanted to use this signal to turn on the CEL on the gauges.
- Wheel speed: To best enact traction and cruise control strategies in the future I wanted to capture the speed of each drive wheel. So I planned on adding a sensor to each of the rear wheels.
- CAN bus: The EMU Pro requires a fixed 1mbps CAN bus for tuning and configuration. I wanted this available to me in the engine bay and cabin, as well as an accessory CAN bus at a lower rate for any future accessories like gauges or keypads.
With all of that decided, I began my investigation of the engine and what sensors could accomplish my goals. I will end this article here and pick up in the next installment of the process of sourcing and installing all of these required sensors and systems.
Thanks for making it this far and stay tuned for the next post!


